

I have long been a critic of the editing tools found in Photos and iPhoto before it.
They were limited in their scope and worked about as well as a handbrake made of pastry.
So I forgot about them and, like a fool, purchased things like Photoshop Elements or suffered the excruciating interface of the free photo editing tool – GIMP.
But as it turns out Apple have been quietly refining and beefing up the editing tools in Photos and they are pretty damn good. In fact I would go so far as to say that, for the average user, they are going to be all you need. Sure, they won’t extricate an old boyfriend from the xmas photo of last year, you’ll still need Photoshop or Photoshop Elements for jobs like that but thankfully that is not often required.
As a tip, until the relationship is serious, it is always a good idea to have them stand to the right or left of the group, they are easier to remove that way.
But I digress.
The bulk of this article is going to look at the Retouch tool but just quickly, let us look at a couple of other things Photo’s editing tools can do.
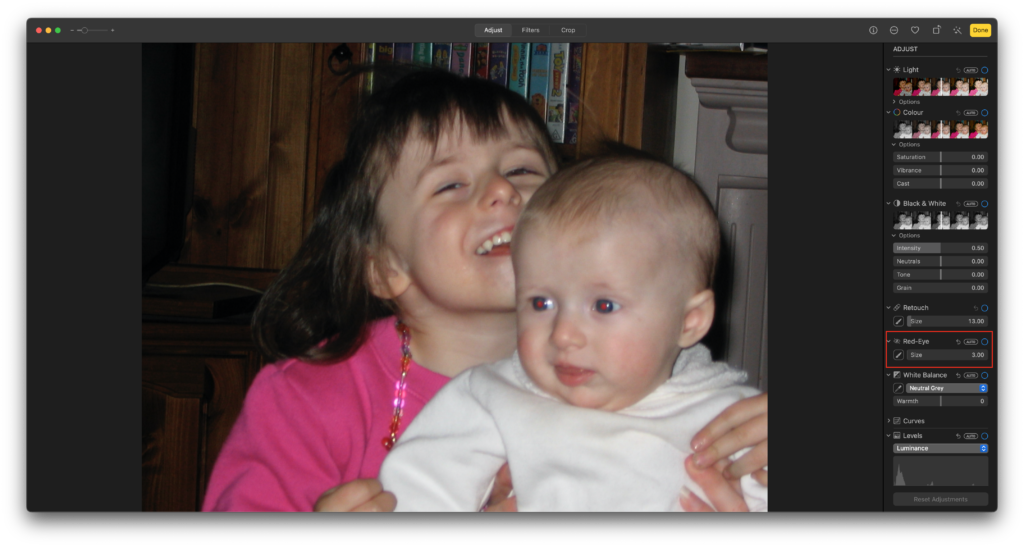
Red Eye removal
This is an old one, but you might not know it is something Photos can do.
Simply find a photo that contains red eye. I often find these in baby photos. (Perhaps its the way they stare unblinkingly into your soul accusingly… or is that just me?) Regardless, once you have it, click on the Auto button and the red eye will be found and removed. If it fails, you can always click on the pencil tool and click inside the eye manually.

Magic Tool
Often, all you need to change a bad photo into a good one is to make use of the Magic Tool. This little wand icon examines the photos light levels, colour and contrast and adjusts them accordingly.
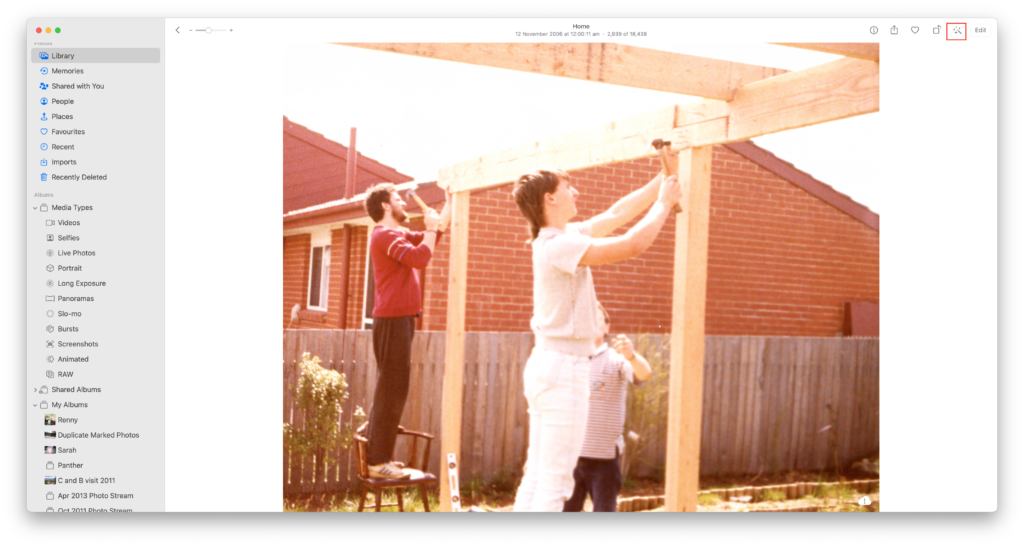
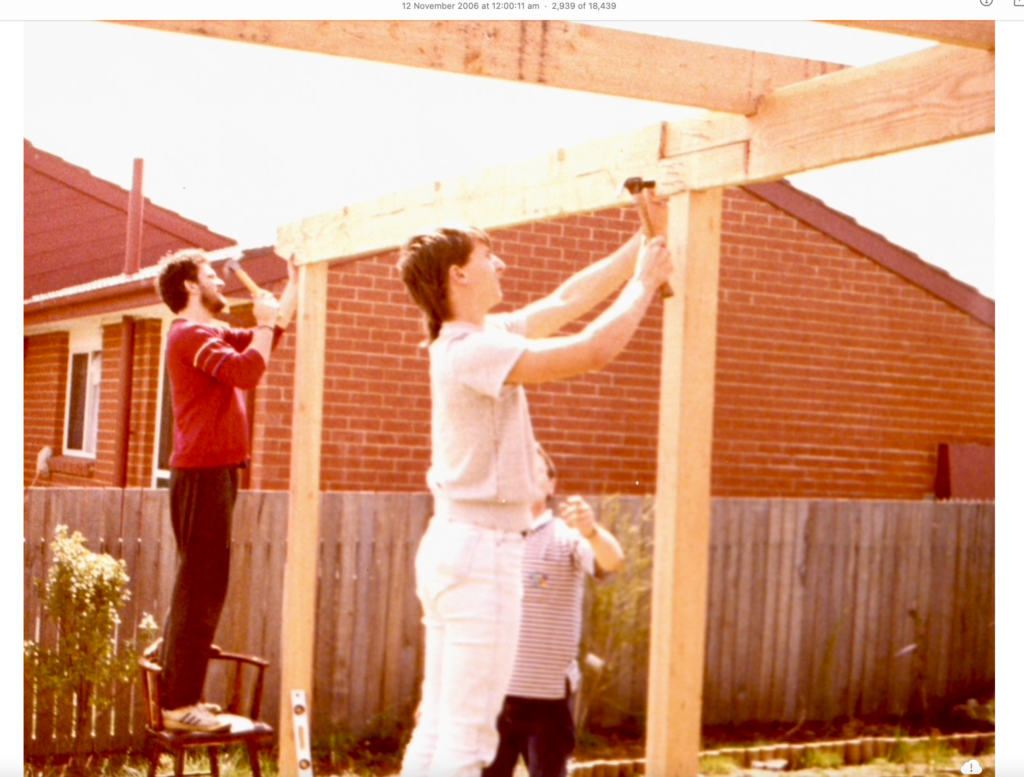
If it doesn’t help, you can always undo and use the individual Contrast, Colour and light tools to edit it to your liking.
Retouch Tool
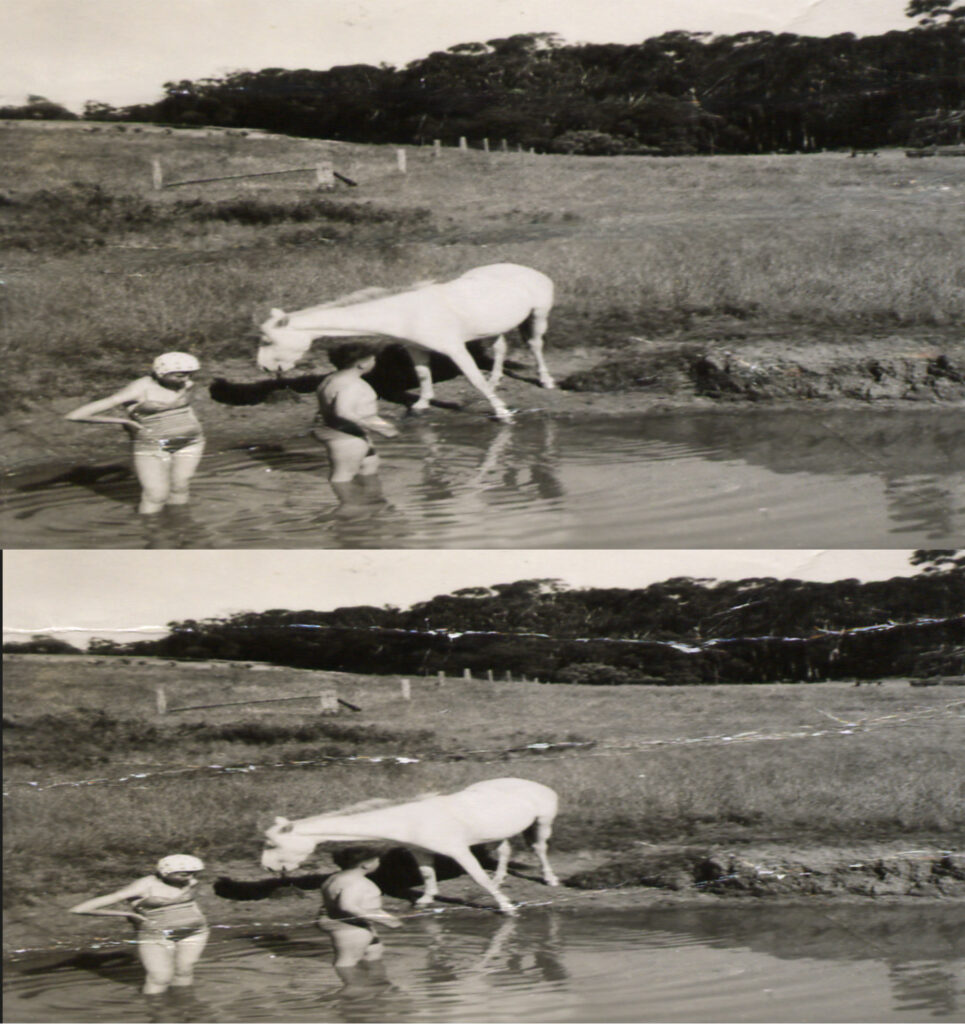
The best way to start explaining just how good this tool can be is by way of an example.
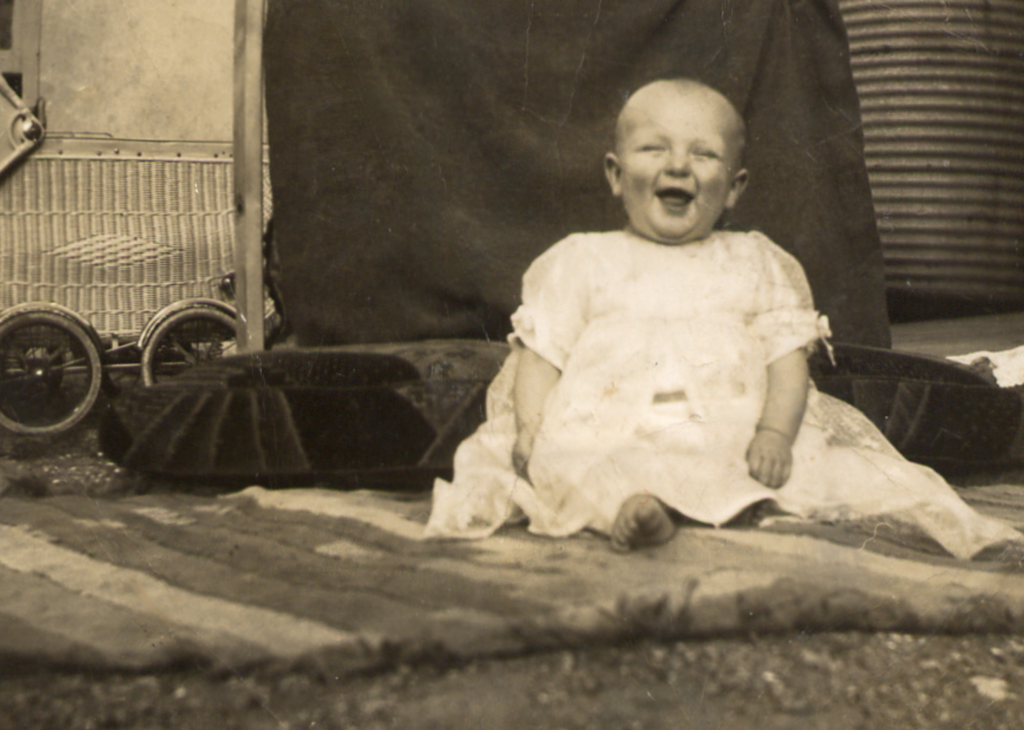
You’ll see I didn’t go all out and there are some things still left to do but still…
So, how did I do it?
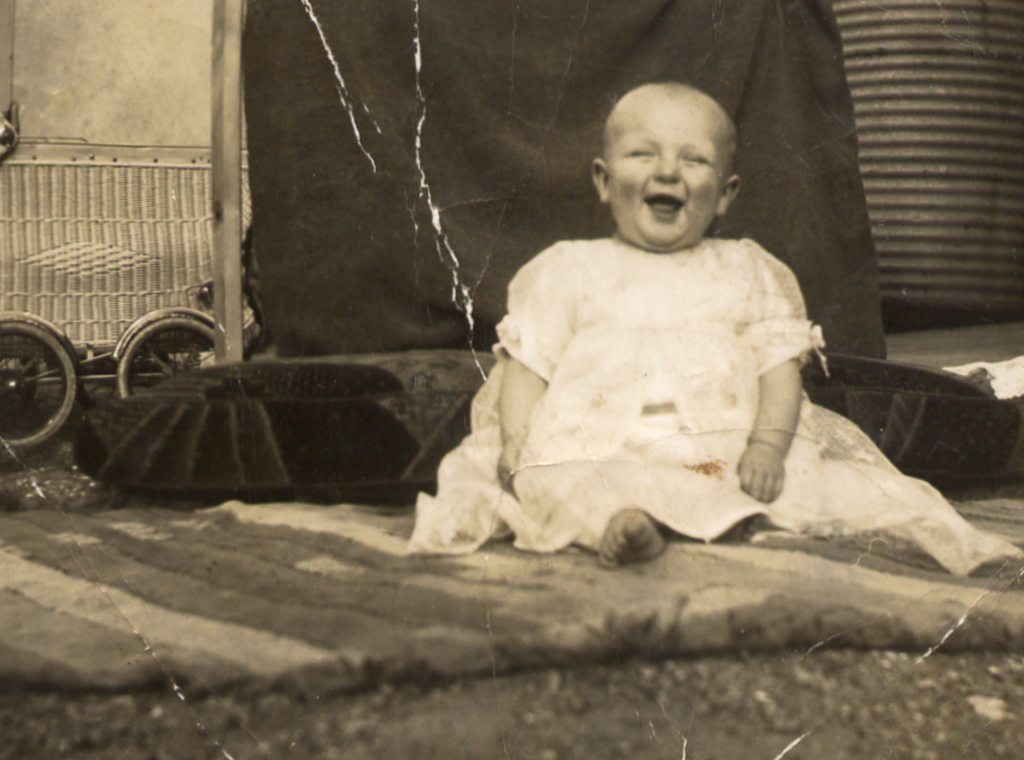
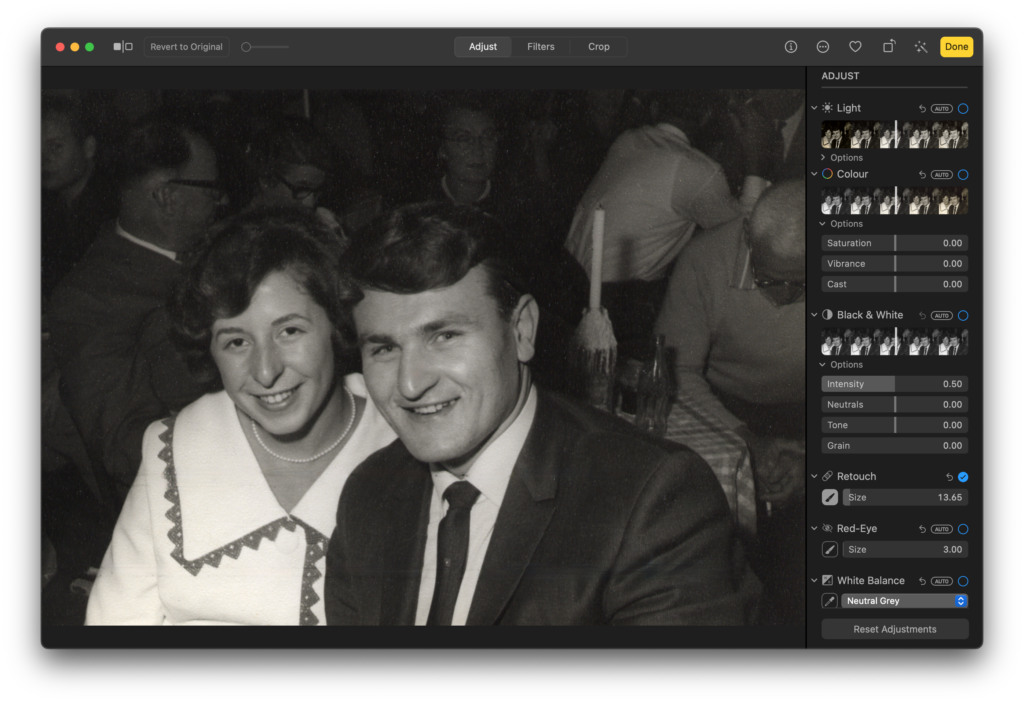
Well let’s start with this very old photo of a very young couple.
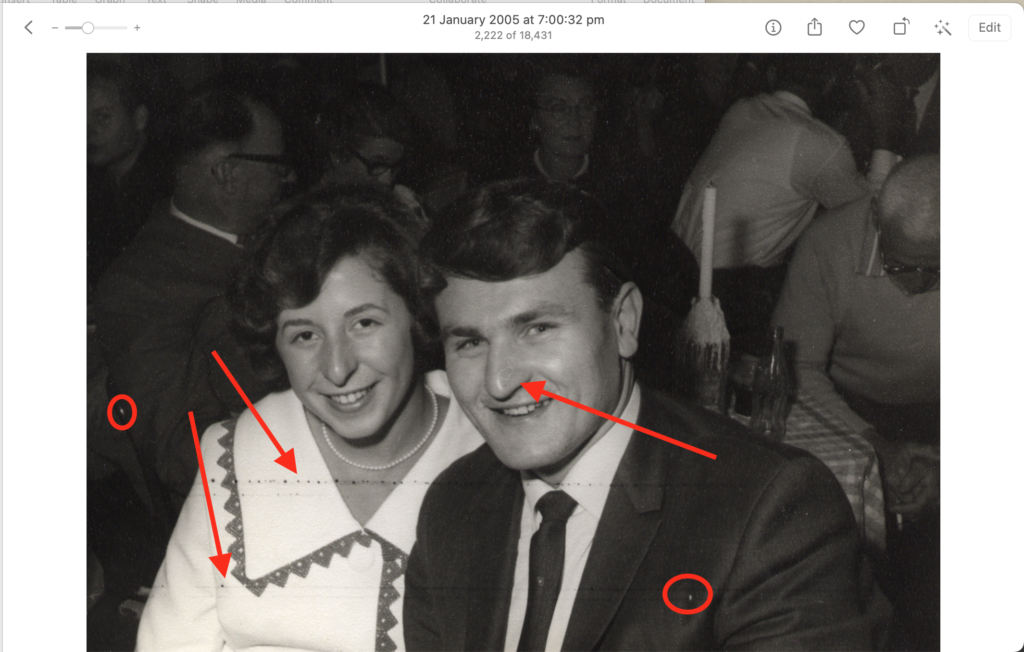
You’ll notice that there is a black line in different places as well as the odd white spot. There is also a mark on his nose.
All you need to do is click on the Edit button….

and the the Retouch tool is found on the right hand side.
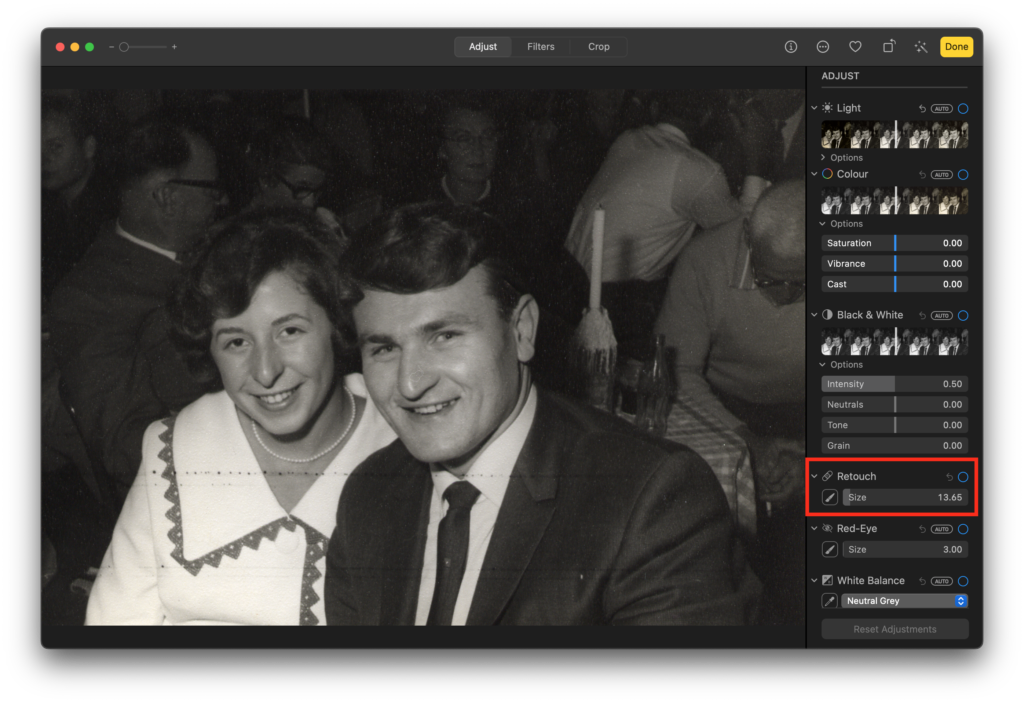
In essence the controls consist of a small paint brush icon (this is what you use to tun it on and off)
A slider (this is what you use to resize the brush although you can also use the [ an ] on your keyboard.
A small arrow tool, this is the Undo button. You can also click on Revert to original at the top of the photo at anytime (even years later!)
So, click on the little brush icon and it is a good idea to resize the brush (using the slider to the [ ] keys) to it just a little bigger than the mark you want to erase.
Once this is done you can draw over the make (if its a line like the one in the picture) or simple tap on a small blemish and the Photos app will do the rest.
Once you have edited a photo you can quickly review just what a difference you’ve made by clicking on the little blue arrow that appears next to the retouch tool.
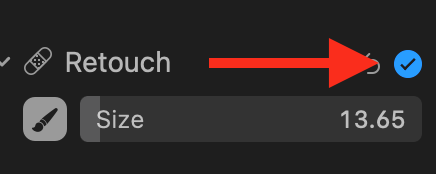
Click on it again to go back to your edited photo.
When you’ve finished oohing and ahhing over your efforts you can click on the yellow Done button in the top right hand corner and look for another photo to edit.
One other, less dramatic use of this tool, is to remove skin blemishes and dare I suggest, wrinkles.
It can also be used to remove entire subjects from a photo, like the aforementioned boyfriend. (Remember, far left or right)


It really is a surprising tool for a free product and with AI and machine learning just getting better and better, it is only going to improve.

2 comments
Thanks Renny for this helpful information! I have never been comfortable with PhotoShop.
Thanks Renny – very useful on a MacBook but I understand it isn’t available (yet) on an iPad.