

 Sharing things is very important and this is very true when it comes to Apple and CD Roms.
For a long time now Apple have been doing to the CD drive that they did to the floppy drive back in the 1990’s, namely killing it off. What with hi speed Internet, movie downloads and USB key it seems the CD is a link to the past that is no longer needed. I must confess when I purchased my first Mac without a CD drive I felt just a tad naked and incomplete but when I really thought about it I hadn’t used a CD drive in years.
But there are times when it is needed so what have Apple done to answer this – infrequent – need?
For starters they sell an external DVD/CD drive that is small and light and is very good at sitting in a draw out of the way until you do need to pop in a CD. And then of course there are other, less stylish looking but functional drives, manufactured by the likes of Logitech and Sony. The trouble with either of these brands is that they cost money and ever since the introduction of the MacBook Air Apple have a software/network solution that costs nix!
It’s called Remote Disk and it can be turned on simply by going into System Preferences.
Once activated on any Mac (or PC but we’ll get to that later) that has a CD drive, and provided they are all on the same network, the disk will be available to new Mac in an instant. Here is how it works.
Lets suppose that you have a new MacBook Air and an older iMac in the study. (You know, the one you hardly use since you got your iPad and the MacBook Air)
Of course your new MacBook doesn’t have a CD drive and your aunt has just sent you a CD with all the pictures from the their recent trip to Africa.
1. Go to the iMac in the study.
2. Click on the Apple menu and choose System Preferences.
3. Click on Sharing icon and put a tick next to CD\DVD sharing and uncheck Ask me before allowing others to use my DVD drive. Note: Once this has been done you don’t need to do it again.


4. Pop the CD into the drive of the iMac and go back to your lounge room where the MacBook Air is waiting.
5. Double click on Macintosh HD and in the sidebar you will see an item called Remote Disk

… then click on the name of your iMac (in this case its called iMac27)

6. Click on Remote disk and ‘ta- dah’ the picture CD appears.

This same method can be used to install software and, as I mentioned earlier, it can be used on a PC as well. (You know, the one you don’t want to use anymore- at all)
Before it will work on a PC you need to locate and download a small piece of software from Apple. It can be downloaded from the Apple website and once downloaded you just run the installer – its very quick.
Then to activate it simply…
1. Click on the Start menu and choose Control Panel

2. Choose Hardware and Sound
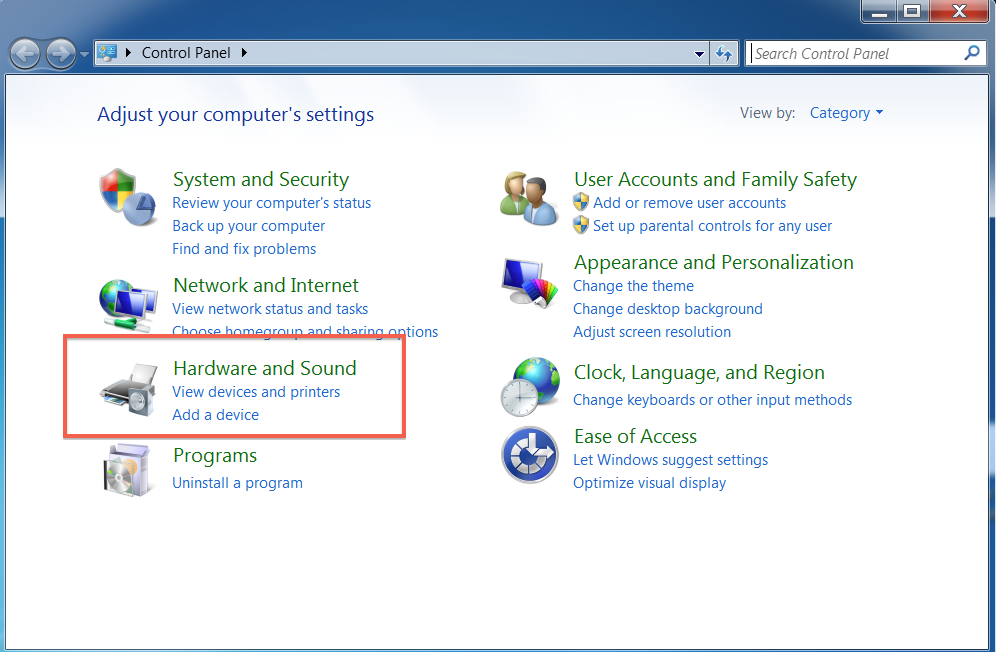
3. Click on DVD or CD Sharing Options

4. Activate the sharing and, if you want, deselect the Ask me before allowing… option. It makes for faster and less hassle when accessing the CDs.

These methods make the most of your older hardware, it works very well and costs nothing to run or install and thats the best kind of sharing of all… no strings attached.
